How to Start Shading (Beginner-Friendly Guide)
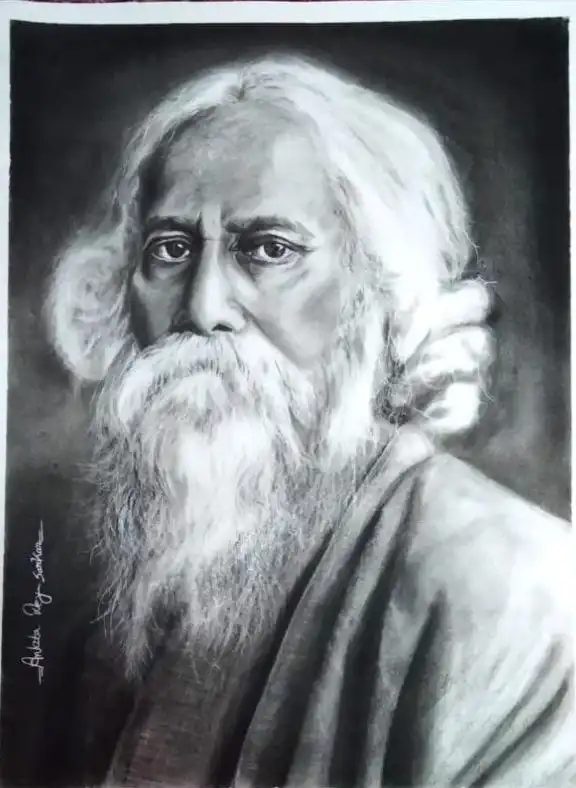
Shading is what makes a drawing feel real. Without it, everything looks flat—just outlines on paper. Once you start adding light and dark areas, even a simple sketch begins to look more solid and three-dimensional.
If you’re new to this, don’t stress. Shading takes a bit of practice, but the basics are actually pretty straightforward.
🎯 So, what is shading?
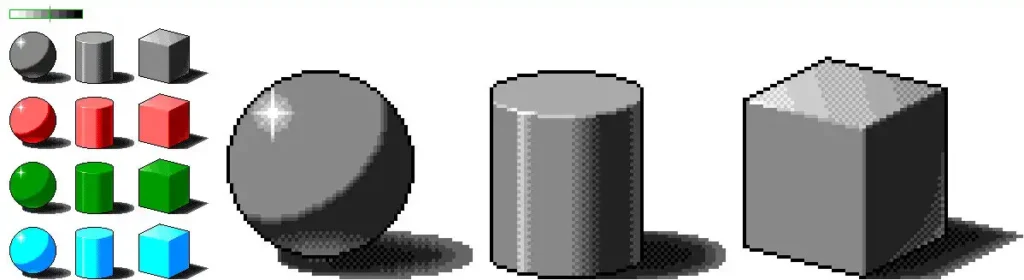
In simple terms, shading means adding darker and lighter tones to show how light falls on an object.
Instead of just drawing shapes, you start showing:
- where the light is hitting
- where shadows form
- how the object curves or sits in space
That’s what gives your drawing depth.
🧰 What you’ll need
You really don’t need much to get started:
- A few graphite pencils (HB, 2B, 4B, maybe 6B)
- An eraser (kneaded works best, but any is fine)
- Tissue or even your finger for blending
- A notebook or sketchbook
That’s enough. You can always upgrade later.
🪜 Step-by-step: how to begin
1. Pick a light direction
Before shading anything, decide where your light is coming from.
Top left, top right—it doesn’t matter. Just choose one and stick with it.
This helps you figure out:
- which side stays light
- which side gets darker
If you skip this, the shading can look random.
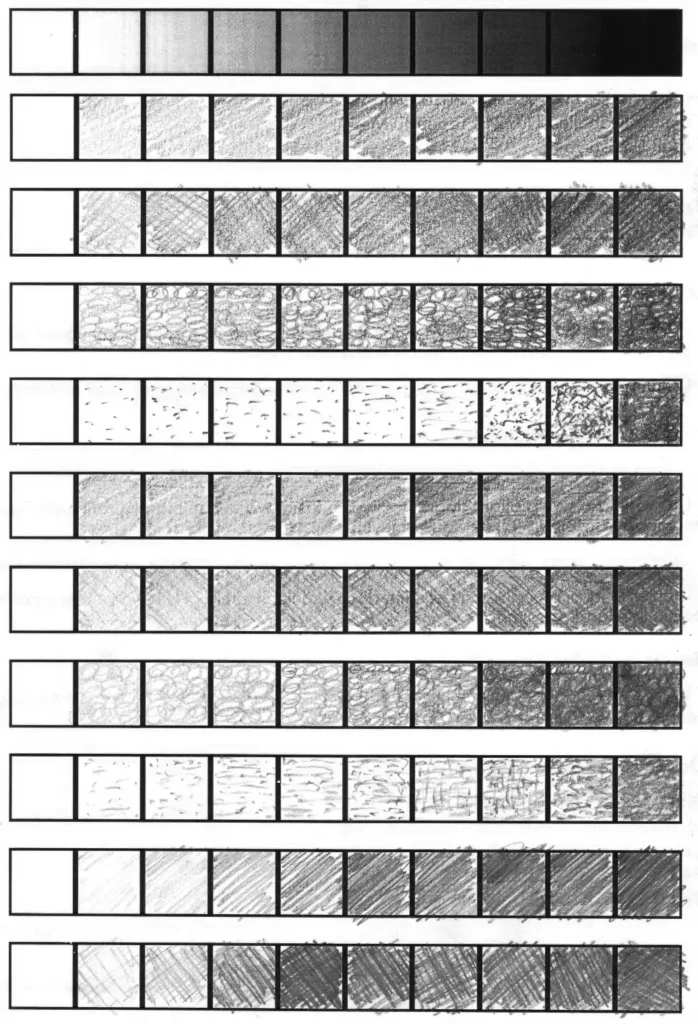
2. Try simple shading styles
There’s no single “correct” way. You can experiment a bit:
- Hatching: lines going in one direction
- Cross-hatching: lines crossing over each other
- Blending: smooth shading
- Stippling: using tiny dots
Most beginners start with simple blending or light hatching.
3. Practice going from light to dark
This is one of the best exercises.
Draw a small box and shade from one side to the other:
- start very light
- slowly build up to dark
Don’t rush it. The goal is smooth transition, not speed.
4. Get used to pressure control
A lot of beginners press too hard without realizing it.
Try this instead:
- very light strokes for soft tones
- add more layers to make it darker
Think of it like building up color, not forcing it in one go.
5. Learn the basic shadow parts
You’ll start noticing patterns once you look closely:
- Highlight: brightest spot
- Midtone: normal surface color
- Core shadow: darkest area on the object
- Cast shadow: shadow on the ground
You don’t have to memorize this perfectly—just observe it while drawing.
6. Blend (but not too much)
Blending helps smooth things out, but it’s easy to overdo.
Use:
- tissue
- finger
- blending stump
Just go lightly. If everything becomes too smooth, the drawing can lose depth.
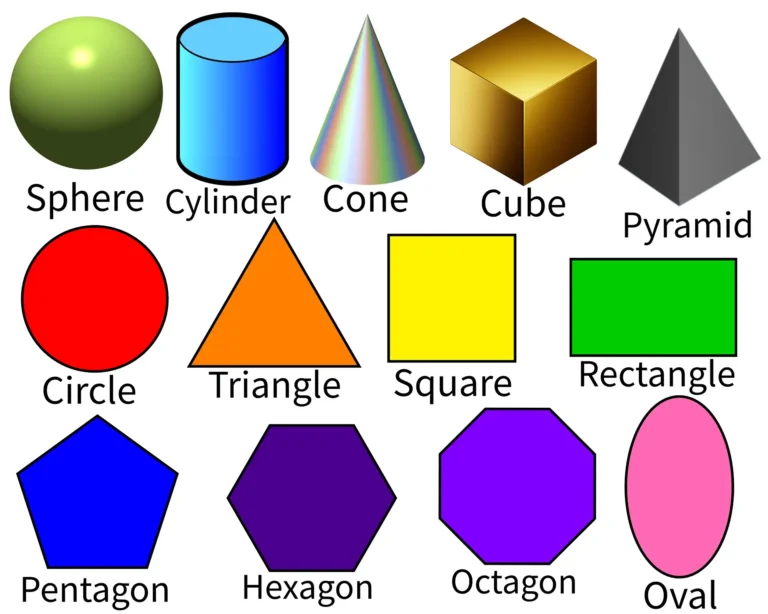
7. Start with basic shapes
Before jumping into faces or complex stuff, try:
- a ball (sphere)
- a box (cube)
- a cylinder
These are simple, but they teach you how light actually works.
🚀 A few tips that help over time
- Build shading slowly instead of rushing
- Keep your pencil reasonably sharp
- Look at real objects around you—not just drawings
- Practice a little regularly instead of doing long sessions once in a while
❌ Common mistakes
Some things to watch out for:
- Not deciding the light source
- Using only one pencil for everything
- Blending too much
- Pressing too hard too early
Everyone does these at first—it’s normal.
🎨 Final thoughts
Shading isn’t something you master in a day. It improves as you keep drawing and observing.
At first, it might feel a bit awkward, but after a few tries, you’ll start noticing the difference in your work. Things will look more solid, more real.
Just keep it simple, practice regularly, and don’t worry about making it perfect.
📍 About Artkul Creative Academy
If you’d rather learn with some guidance, this place offers structured classes:
- Located in Madhyamgram (near the railway station)
- Teaches fine arts, sketching, and craft
- Run by Ankita Dey Sarkar
- Government-certified courses available
- Open all 7 days
Contact:
- +91 62910 04807
- +91 89103 44880
Good option if you want hands-on learning instead of figuring everything out on your own.
More Canvas & Insights