How to Draw with Oil Pastels (Simple Guide for Beginners)
Oil pastels are honestly one of the easiest and most fun ways to start drawing. They’re soft, colorful, and you don’t need any complicated setup to use them. You can just pick them up and start creating.
What makes them really nice for beginners is how forgiving they are. You don’t have to be super precise, and even small mistakes can usually be blended or covered up.
If you’ve never tried them before, don’t worry—this guide will walk you through everything step by step.
✏️ What You’ll Need
You don’t need anything fancy to get started. Just a few basic things:
Must-have:
- A set of oil pastels
- Thick paper (slightly rough works better than smooth)
- A pencil for sketching
- Tissue or a soft cloth
Optional but helpful:
- Blending stumps
- Masking tape (if you want clean edges)
- Scrap paper to rest your hand on
One small tip—paper actually matters more than people think. If it’s too smooth, the pastel won’t stick well, and layering becomes harder.
🌄 Let’s Draw a Simple Landscape
We’ll keep things easy with a basic scene—something like mountains, sky, and land.
🟢 Step 1: Start with a Light Sketch
Use your pencil to draw a rough outline.
Just include simple things:
- A horizon line
- Some hills or mountains
- Maybe a river or path
Don’t overthink it. Keep the lines light and simple. This is just a guide, not the final drawing.
🎨 Step 2: Fill in Base Colors
Now start adding your first layer of color.
For example:
- Sky → light blue or even a soft pink
- Land → light green or yellow
- Water → pale blue
Use very light pressure here. You’re not trying to make it perfect—just getting some color down.
This step might look a bit messy at first, and that’s completely fine.
🌈 Step 3: Add More Color
Now comes the fun part—building up the colors.
Go over your base layer and add:
- Darker blues or oranges in the sky
- Deeper greens and browns for land
- Maybe some warm tones for variation
Instead of pressing hard, try layering slowly. It gives a much nicer effect in the end.
🖌️ Step 4: Blend Everything
At this stage, your drawing probably looks a bit rough. That’s normal.
Use your fingers, tissue, or a blending tool to smooth things out.
- For the sky → small circular motions work well
- For land → try side-to-side strokes
Don’t over-blend though. If you mix too much, colors can start looking dull.
Also—wipe your fingers between colors. It helps more than you’d expect.
🏔️ Step 5: Add Some Depth
Now go back and start refining things a bit.
- Darken parts of the mountains to show shadows
- Add slight variations in the land
- Define shapes more clearly
Use shorter strokes and change pressure slightly. This helps create texture without making it look forced.
🌿 Step 6: Work on the Foreground
This is where your drawing starts to feel more alive.
Add things like:
- Trees
- Grass
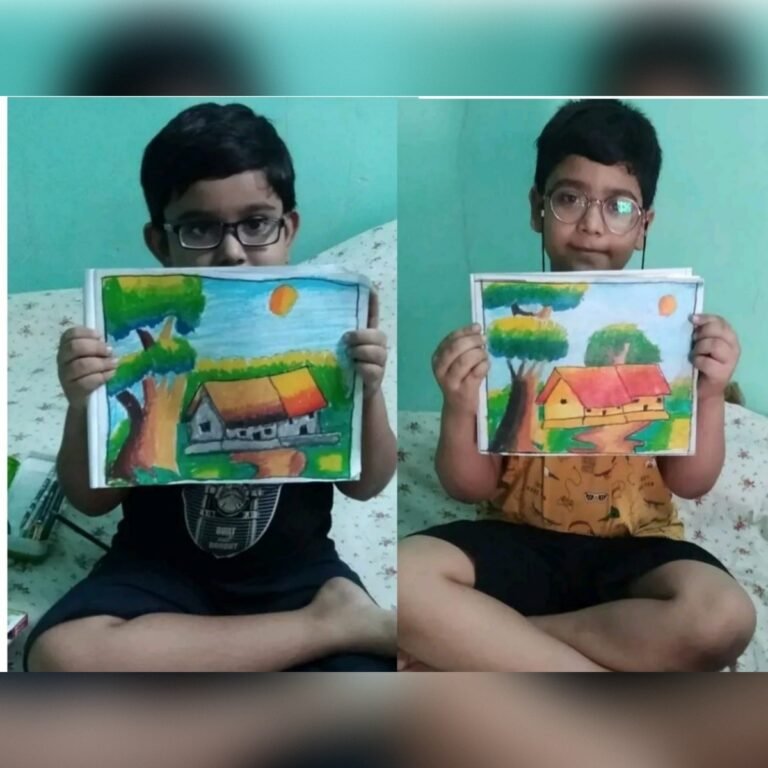
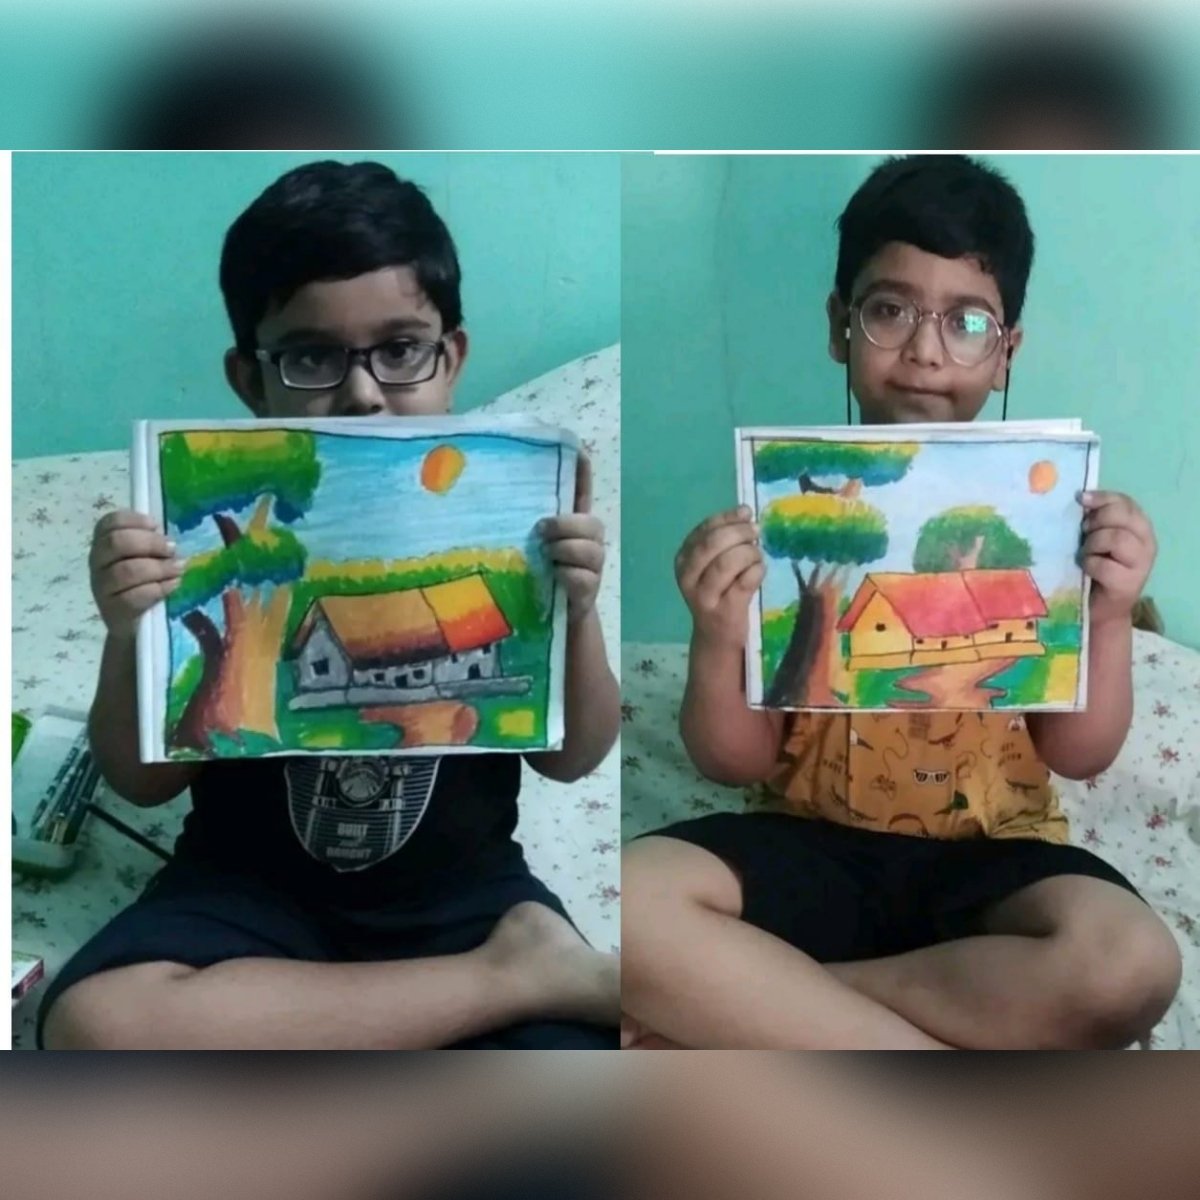
- Small details (rocks, maybe a house)
Use sharper, more confident strokes here. Foreground elements should stand out more than the background.
☁️ Step 7: Final Touches
Take a moment and look at your drawing.
Now:
- Add highlights (a bit of white or light yellow works well)
- Deepen shadows if needed
- Fix any edges that look off
A helpful trick—step back and view your drawing from a distance. You’ll notice things you didn’t see up close.
✨ A Few Useful Tips
These aren’t rules, just things that help over time:
- Try not to press too hard too early
- Layer colors instead of mixing everything at once
- Stick to a limited color range—it looks cleaner
- Experiment a bit (scratching, dabbing, etc.)
- Keep your hands clean while working
🎯 Final Thoughts
Oil pastels are all about experimenting and enjoying the process. You don’t need to get everything right on the first try.
The more you practice, the more natural it feels—and you’ll slowly figure out what works best for you.
Start simple, don’t rush it, and just have fun with it.
📚 Want to Learn More & Improve Faster?
If you’d like to take your skills beyond the basics and get proper guidance, you can explore structured lessons and hands-on practice sessions at our center. We provide step-by-step training, personalized feedback, and creative exercises designed especially for beginners.
For more details about courses, learning methods, and enrollment, visit Artkul. It’s a great place to deepen your understanding and grow your confidence with oil pastels and other art forms.
Whether you’re just starting out or looking to refine your technique, learning with the right support can make a huge difference.
More Canvas & Insights